Documentation
Introduction to Planfeld
Planfeld Major Functions
Planning Session
Monitoring a Campaign
Configure Monitor Campaign Information
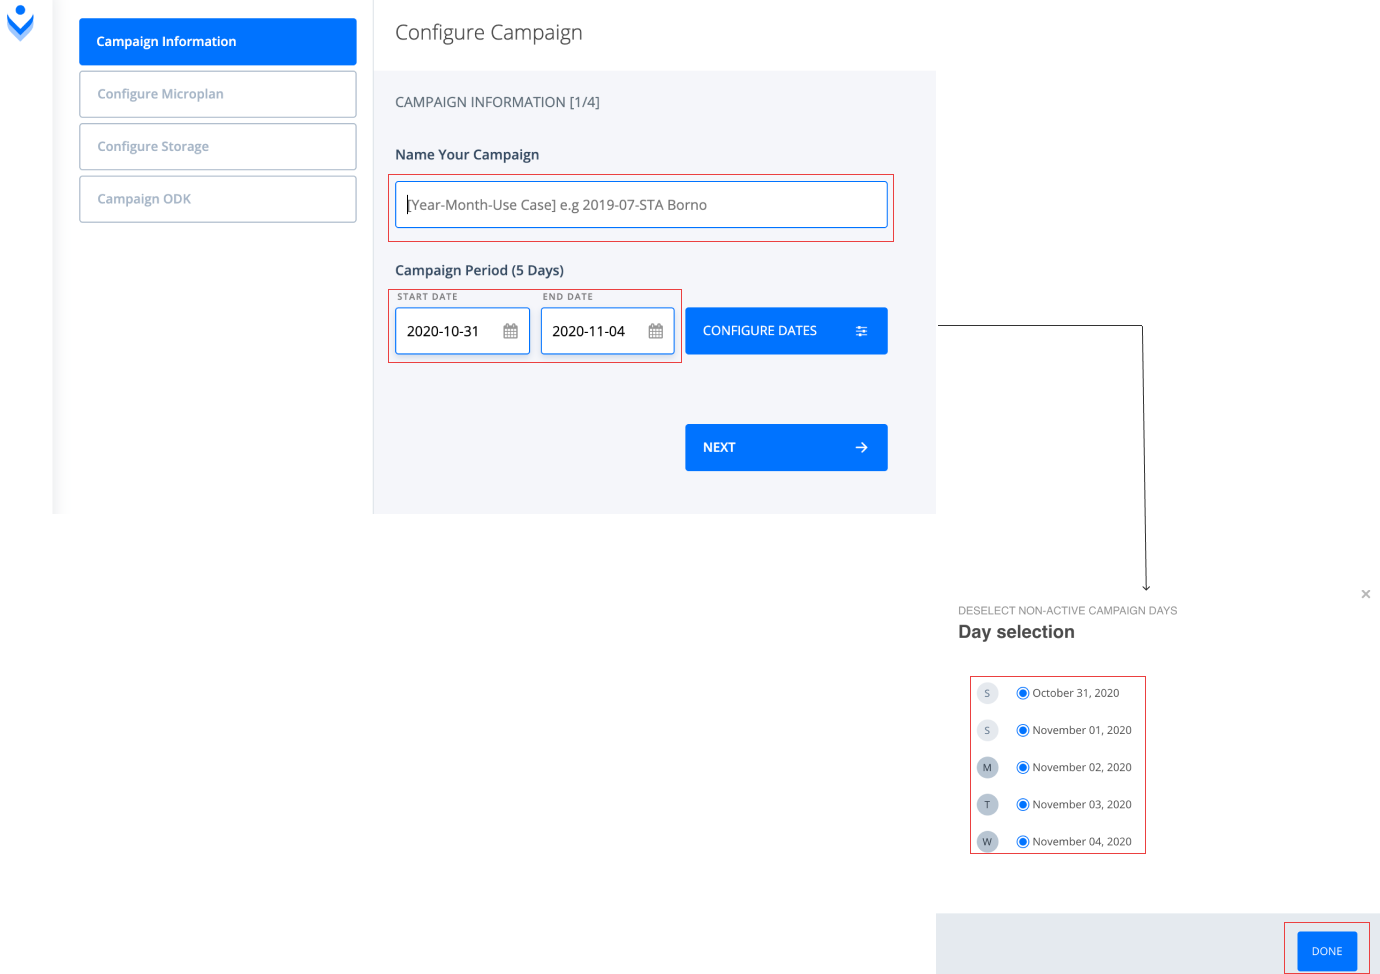
Step 1: Input the name of the campaign you want to monitor.
Step 2: Input your campaign period and select “NEXT” to continue.
Note: If dates are not sequential, you can click “CONFIGURE DATES” to select or deselect specific dates in between the campaign period. Click “Done” when you have completed selecting active days.
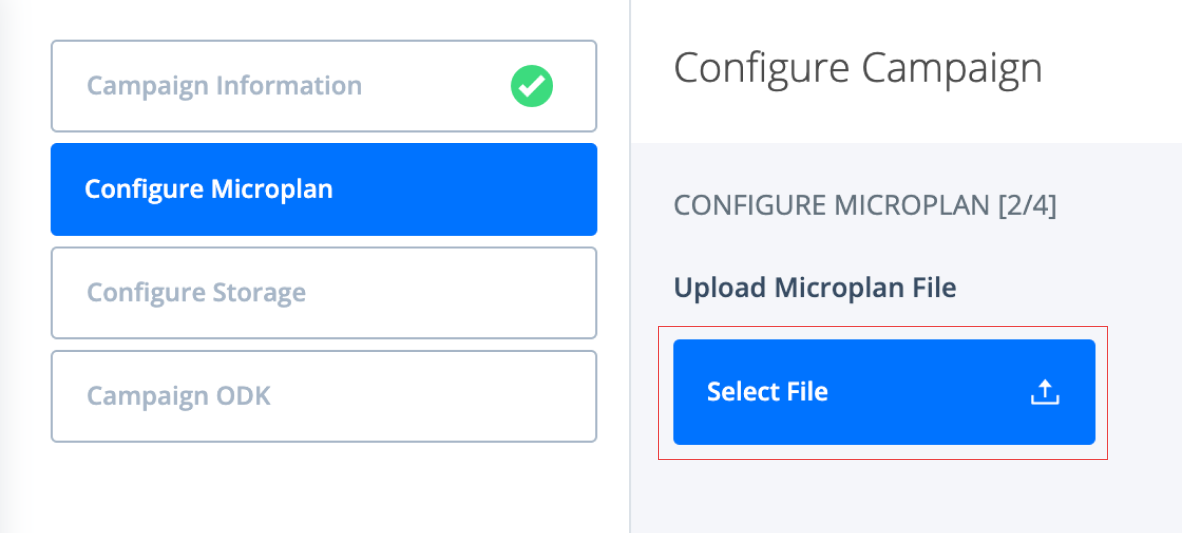
Step 3: Under the “Configure Microplan” page menu, click “Select File” to upload the Microplan originally created for the campaign you want to monitor. Microplan file is expected to be uploaded from your computer folder as .CSV.
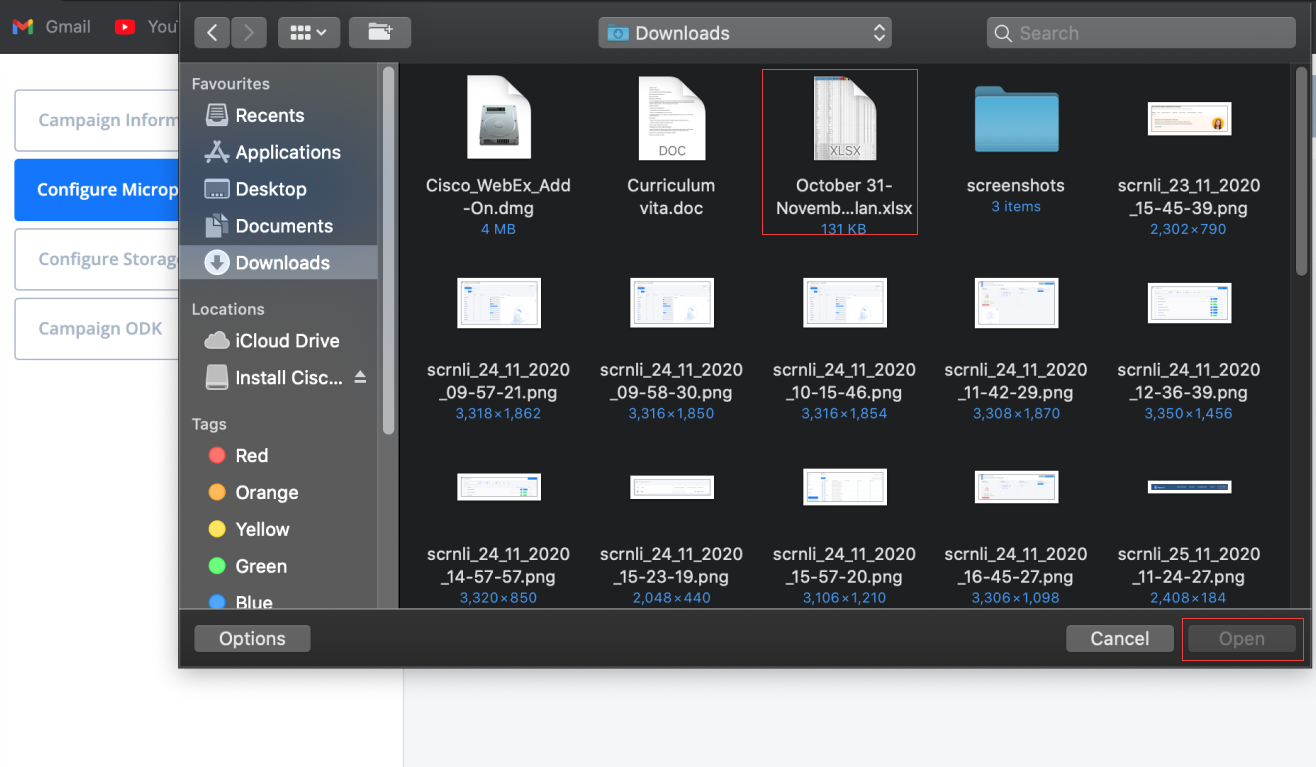
Step 4: On the pop up window displaying the folders and files on your computer, navigate to the folder containing the Microplan and select the file, then select “Open”.
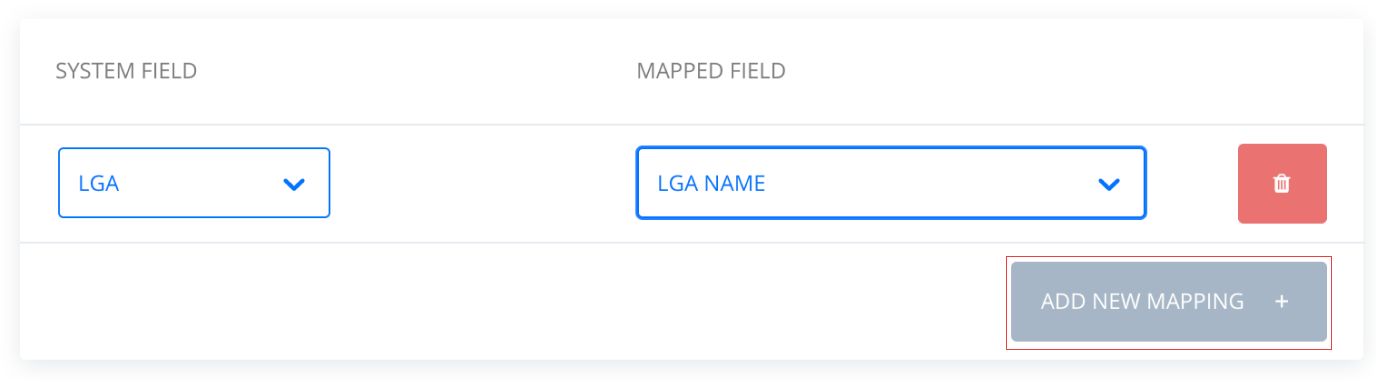
Step 5: Map fields from uploaded Microplan to the application’s standard fields.
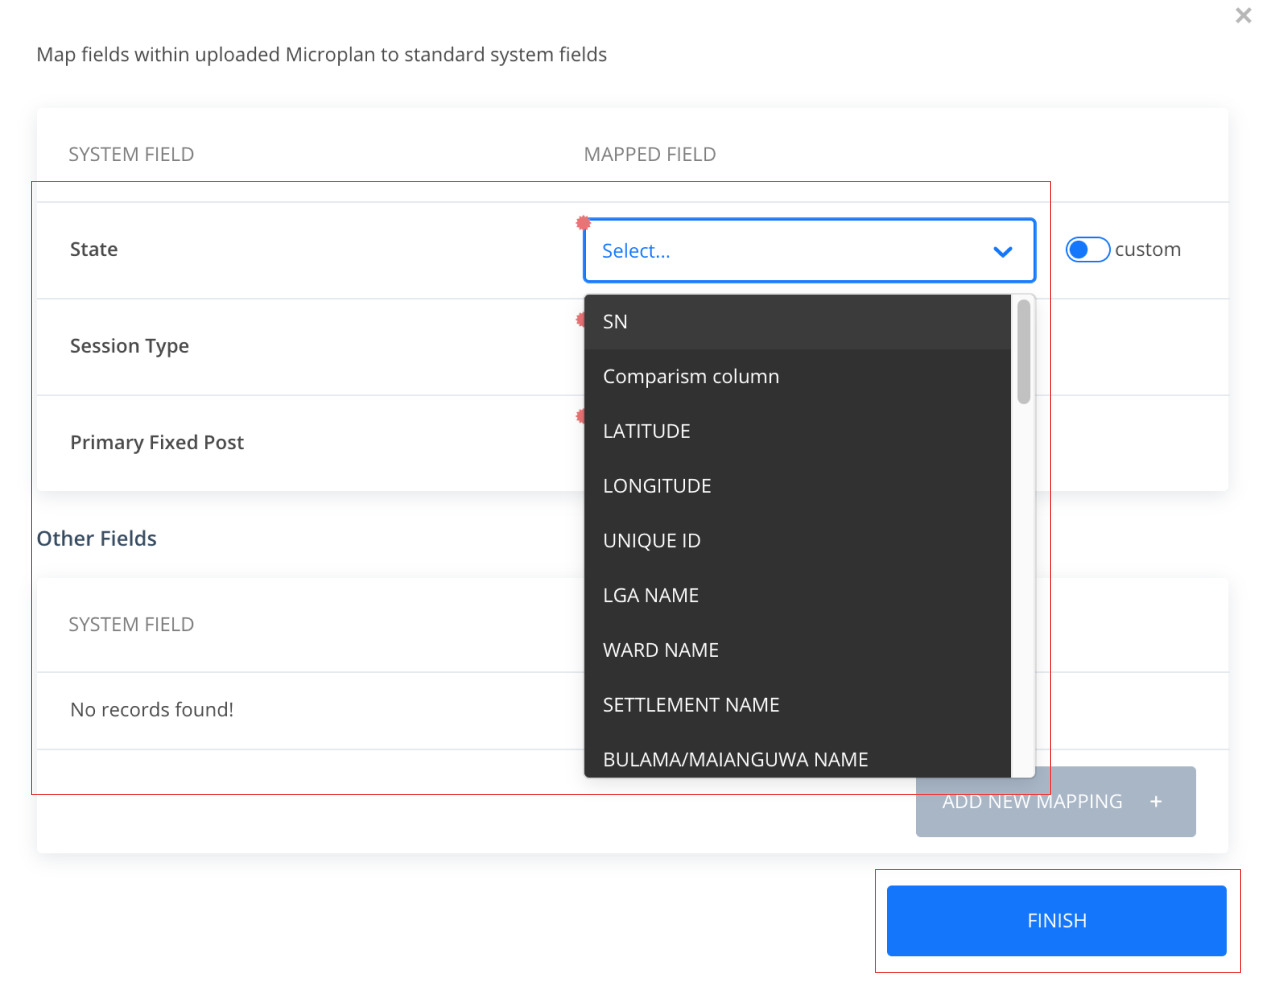
Step 6: Click “FINISH” when done with mapping fields.
Note: You can add more fields for mapping other than those listed by the application by default. Simply select “ADD NEW MAPPING” to open pop up for more fields.
Result:
- The application will display the output of the mapping between the application and Microplan fields.
- You can filter the result by any name of the applicable administrative level using the “FILTER” function or select “EDIT MAPPING” to remap fields.
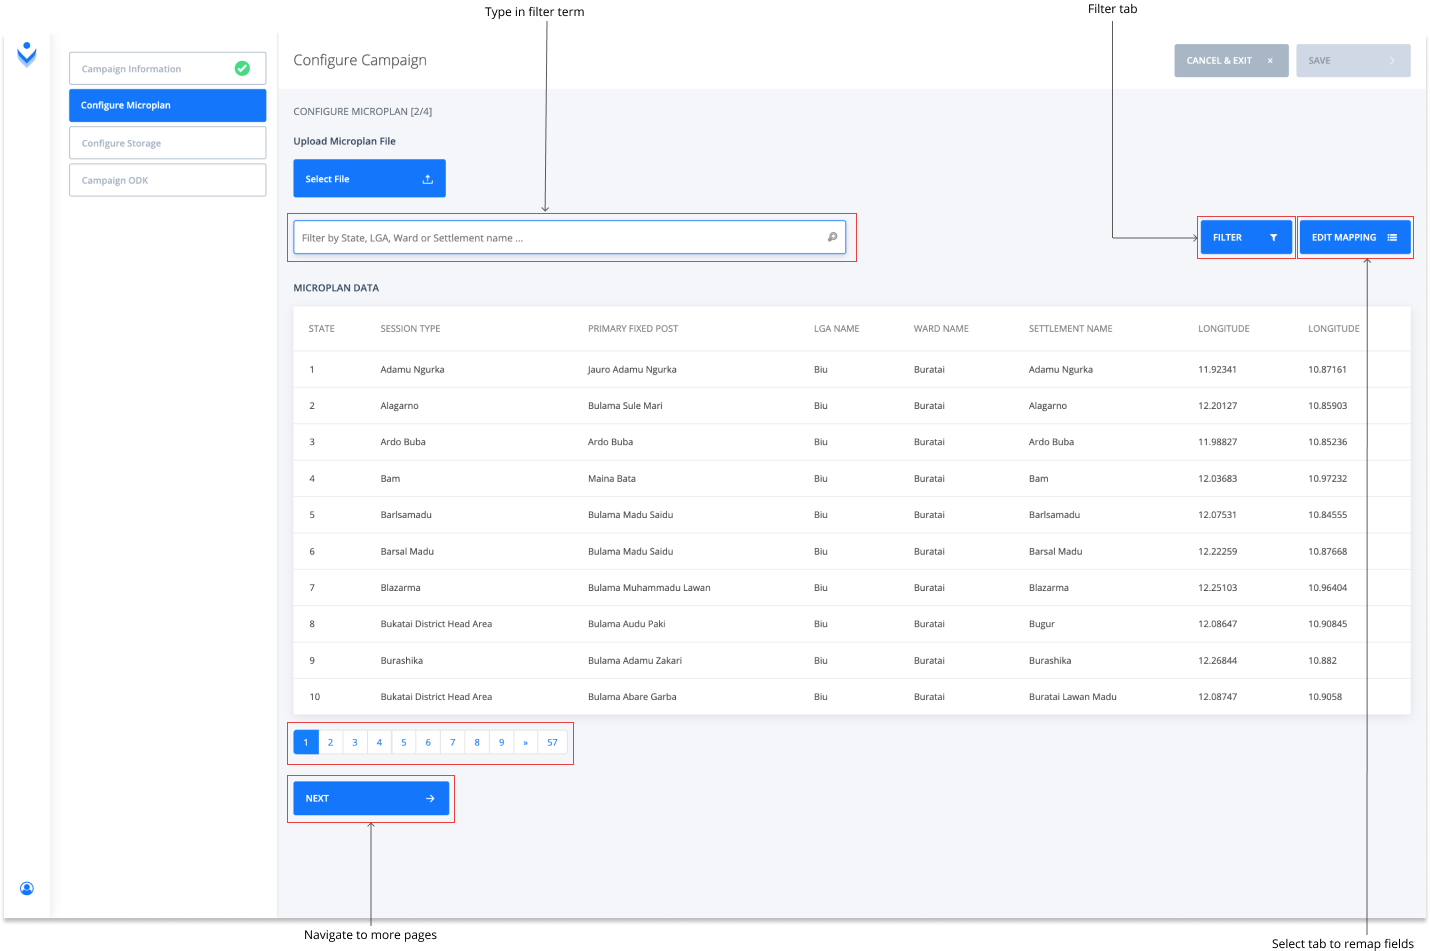
Step 7: Select “Next” when you are fine with the output of the field mapping.
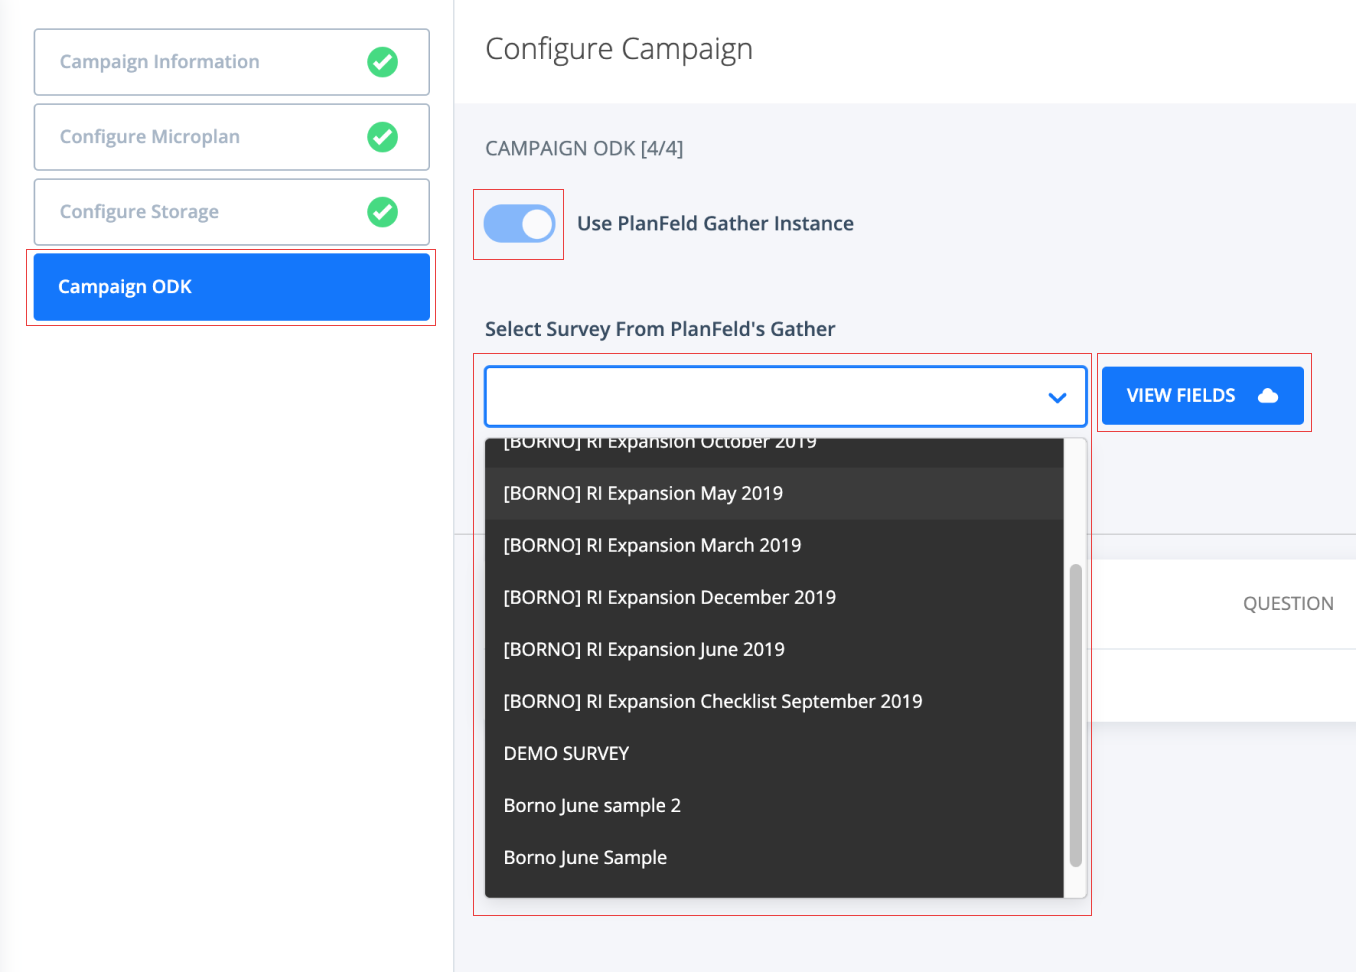
Step 8: Next is to select the “Configure ODK” page menu to select the survey that will be used to validate the settlement list.
Step 9: Toggle on the “Use PlanFeld Gather Instance” radio button if the repository for ODK submissions is the Planfeld’s Gather instance. Otherwise turn off.
Step 10: Select the survey name from the drop down.
Step 11: Click the “VIEW FIELDS” to view fields of the selected survey.
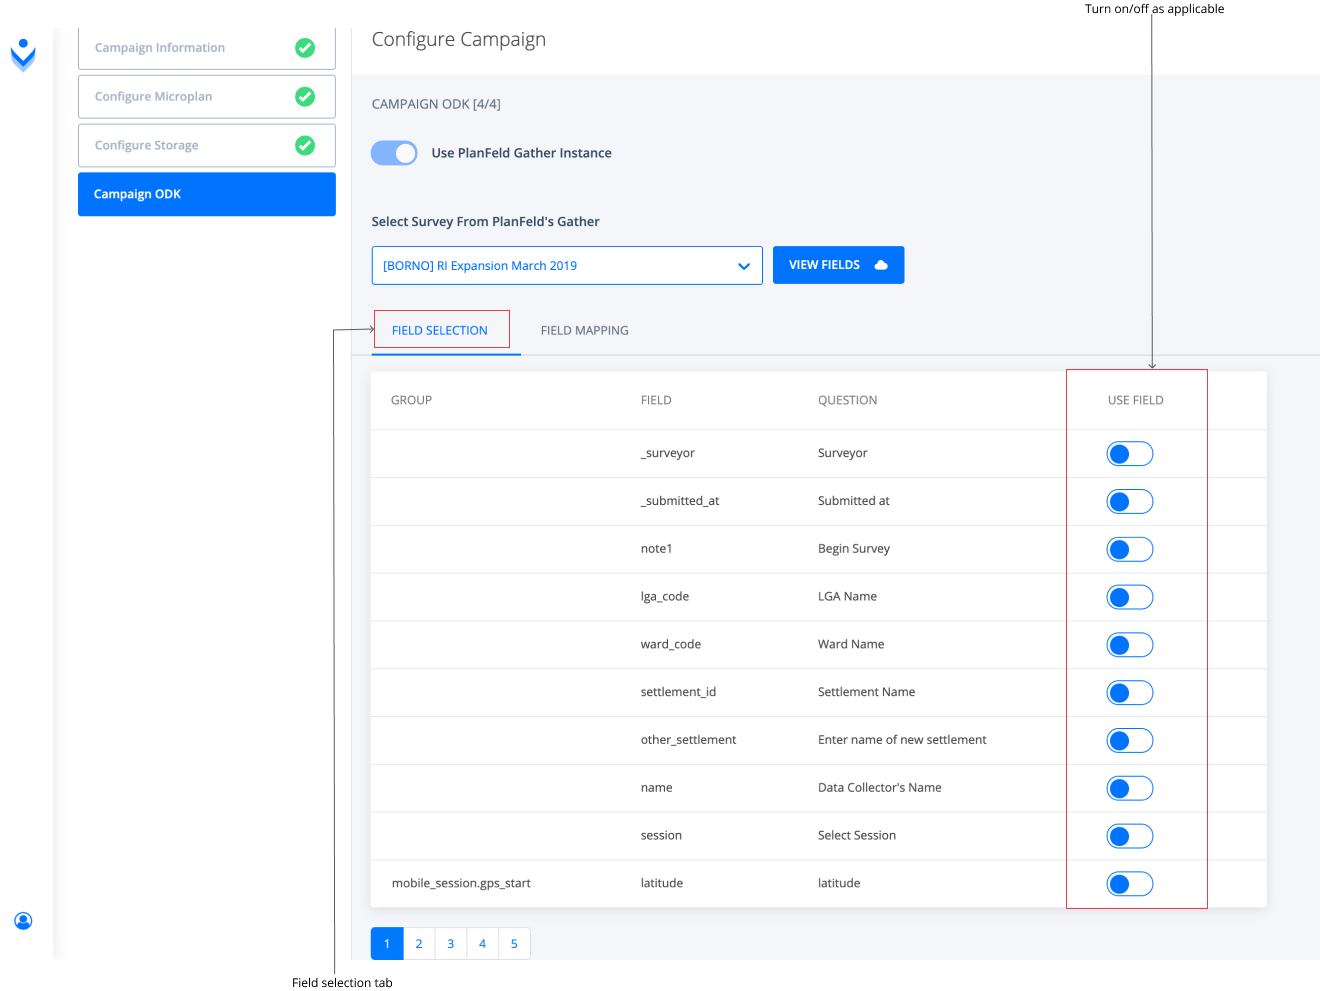
Step 12: Under the Field Selection tab menu, turn on/off fields on the ODK survey that will be used for the settlements validation.
Step 13: Then select the “FIELD MAPPING” tab and map applicable fields on the Microplan to the ODK data.
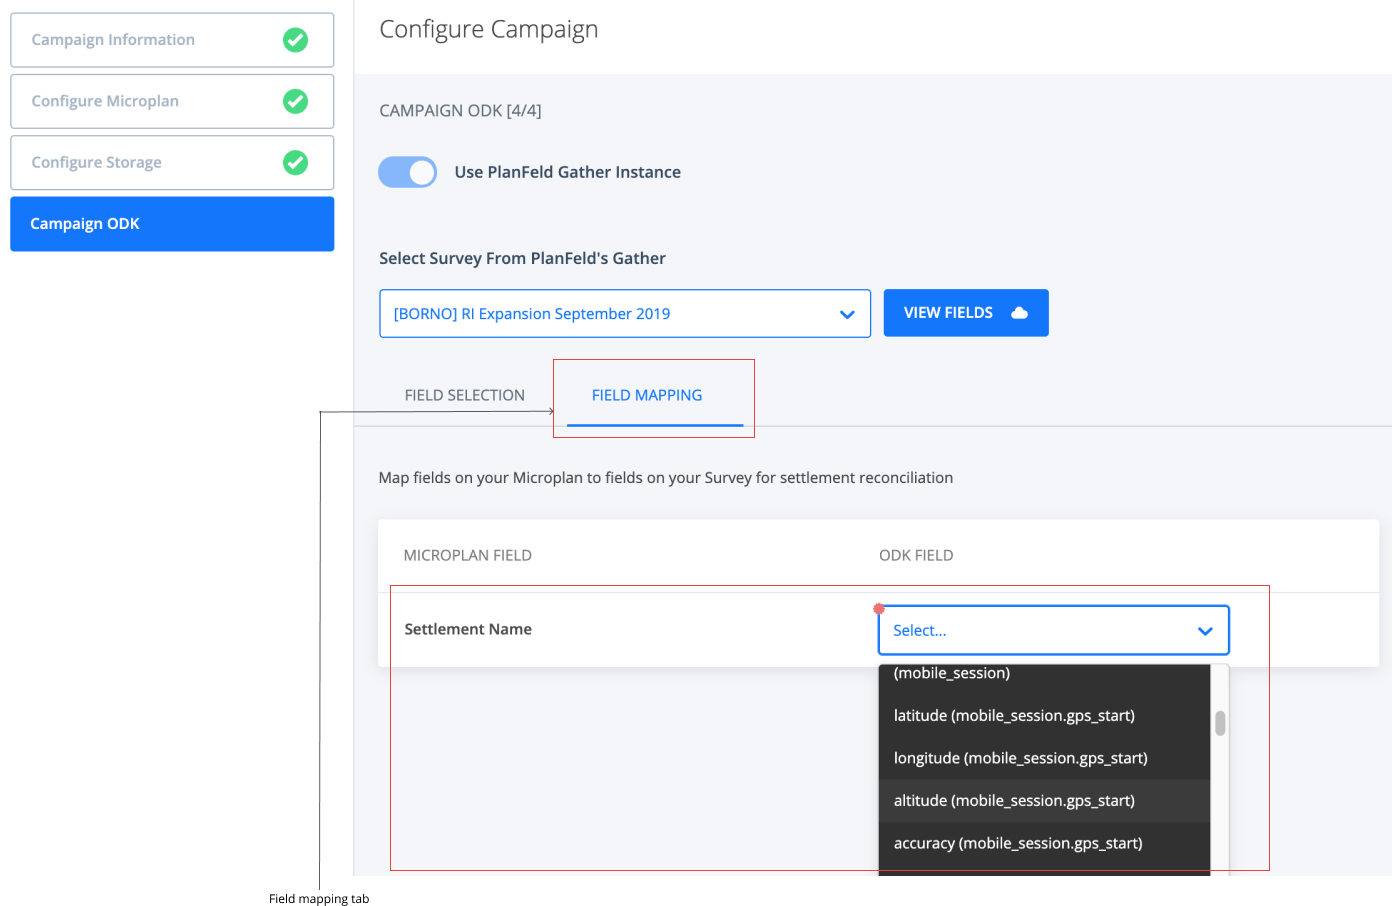
Note: Selected fields from the ODK can help improve source data from the GDB based on.
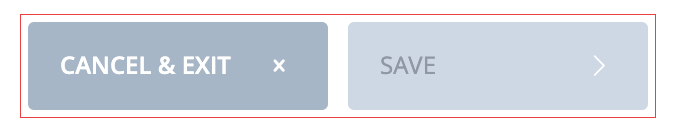
Step 14: Now at the right top corner of the window, select “Save” to finish campaign monitoring configuration or “Cancel & Exit” to discontinue.
Result:
- The application will run validation of the uploaded microplan settlements against that of the settlements from the selected ODK server data. You will be notified once this is done and the result of the validation displayed.

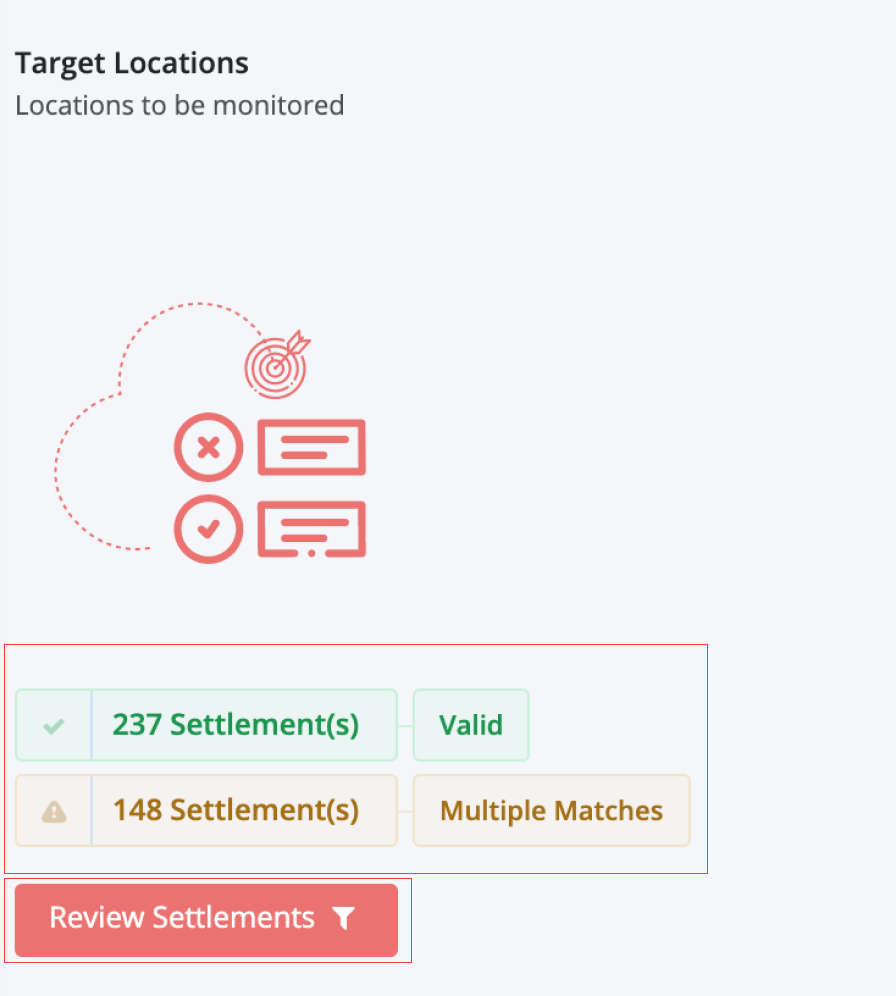
- Valid: settlements match against Geodatabase settlements
- Missing parameters: settlements match against Geodatabase settlements but have some parameters missing
- Multiple-matches: settlements matching multiple Geodatabase settlements
- Unknown: settlements do not match against any Geodatabase settlements
Note:
- You can select the “Review Settlements” tab to correct any errors identified in the validation result.
- You can look to review settlements with missing parameters, multiple matches and settlements not found by manually selecting replacements using the dropdown or use the “Auto Select Replacement” to do this automatically.
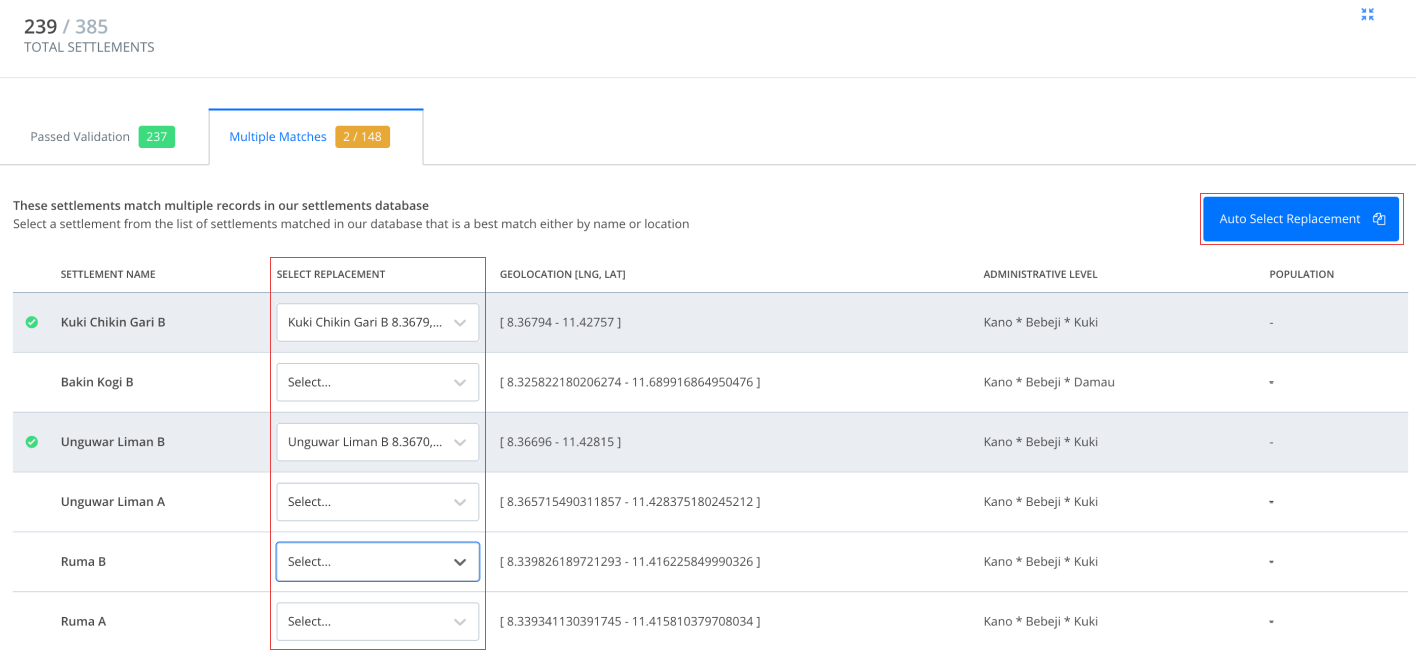
Finally, save the list using the “SAVE SETTLEMENT LIST” button to rerun validation.

Result:
- The application will run coverage and the progress will be displayed on the output page.
Step 15: Now select “Start Coverage Generation” to complete campaign monitoring configuration.
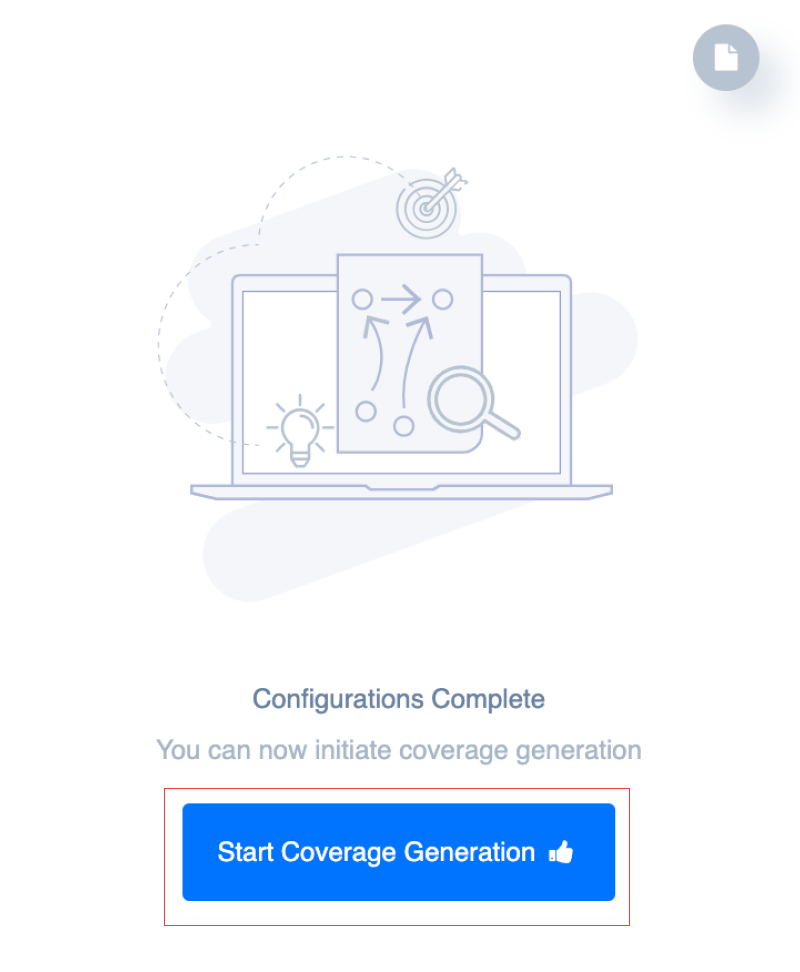
Result: The application will run coverage and the progress will be displayed on the output page.
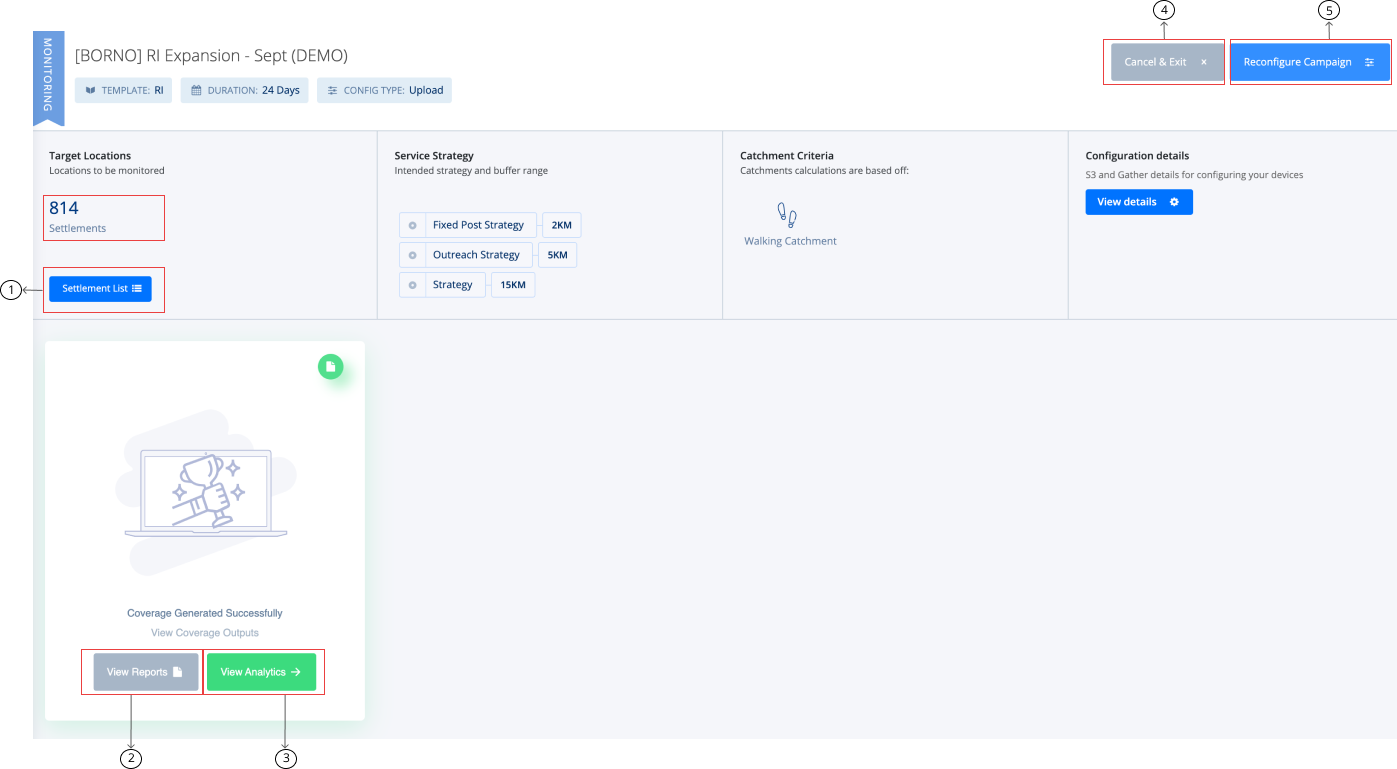
Note:
On this window, you can do the following:
- View campaign locations on map
- View settlements list
- View reports
- View analytics
- Cancel & exit
- Reconfigure campaign information